Everything You Need to Know About Printer Test Pages
What Is a Printer Test Page?
A printer test page is a specifically designed diagnostic document used to evaluate the hardware and software health of your printing device. Instead of printing standard text, it utilizes precise vector grids, microscopic font scales, and 100% saturation CMYK color blocks. Here at ColorPrinterTestPage.com, our lab evaluates these pages daily to detect microscopic hardware faults long before they ruin a multi-page document.
Why Printer Test Pages Exist
Modern inkjet and laser printers are highly complex mechanical systems. They rely on thousands of liquid nozzles firing simultaneously or electrostatic lasers bonding plastic powder to paper. A test page exists as an objective benchmark. When your printer begins to fail, the test page acts as a "check engine light." Instead of wondering if your PDF software is glitching or if your ink is legitimately dry, a standardized test page mathematically isolates the problem.
Types of Printer Test Pages
Not all diagnostics are created equal. Depending on the symptoms you're experiencing, you need a different type of test:
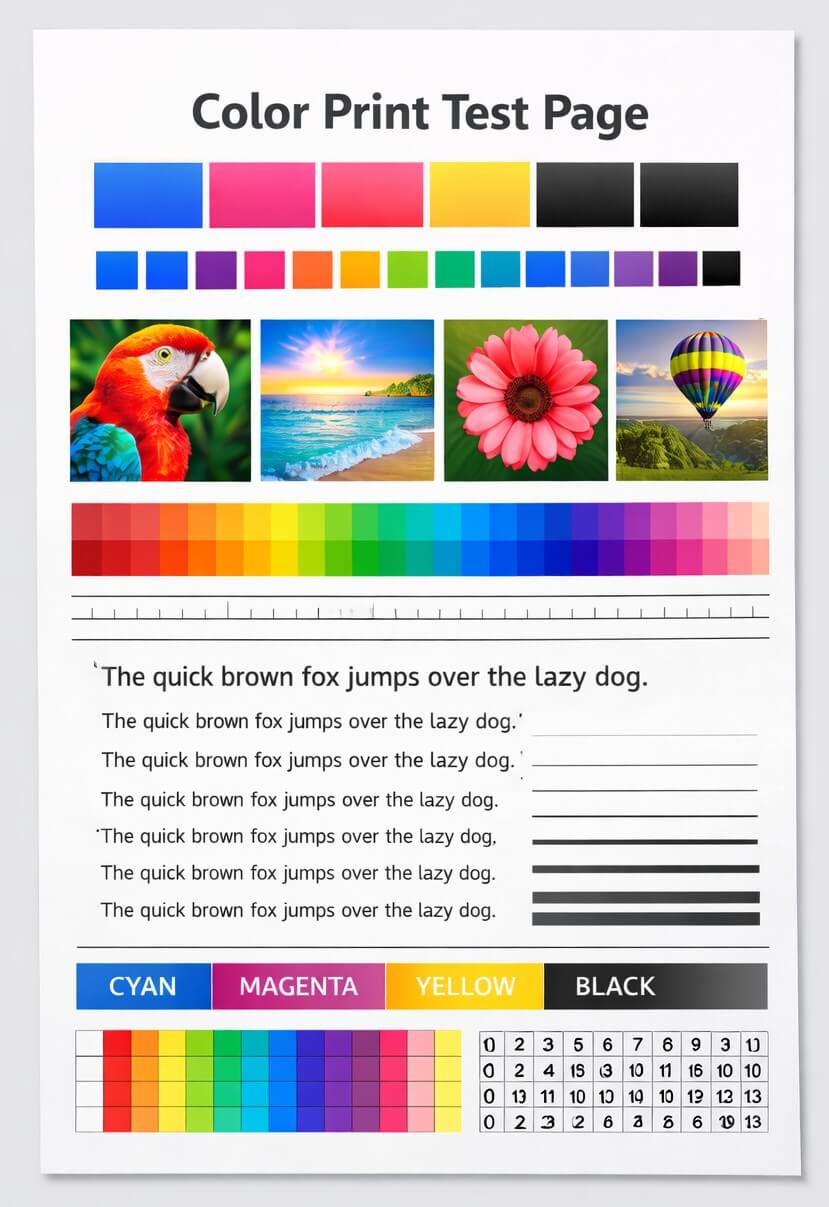
🎨 Color Test Pages
Utilize gradient ramps and pure CMYK blocks to expose nozzle clogs and color banding.
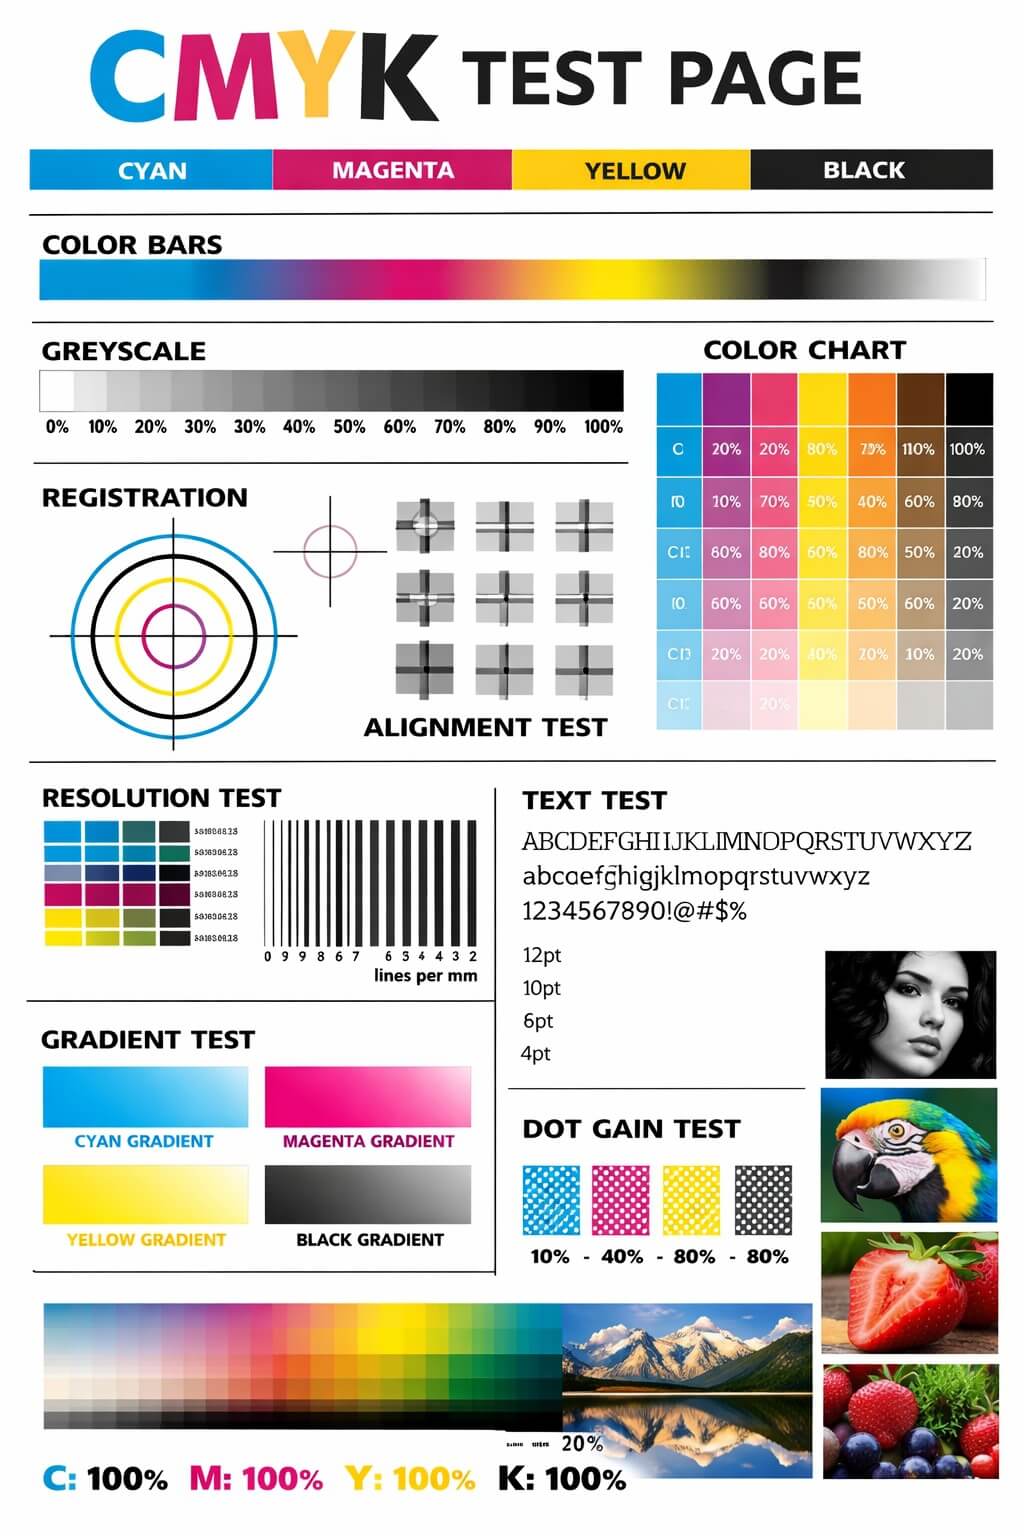
📐 Alignment & Gradients
Focus entirely on geometric accuracy. Used when lines wave or printhead crosshairs fail to intersect perfectly.
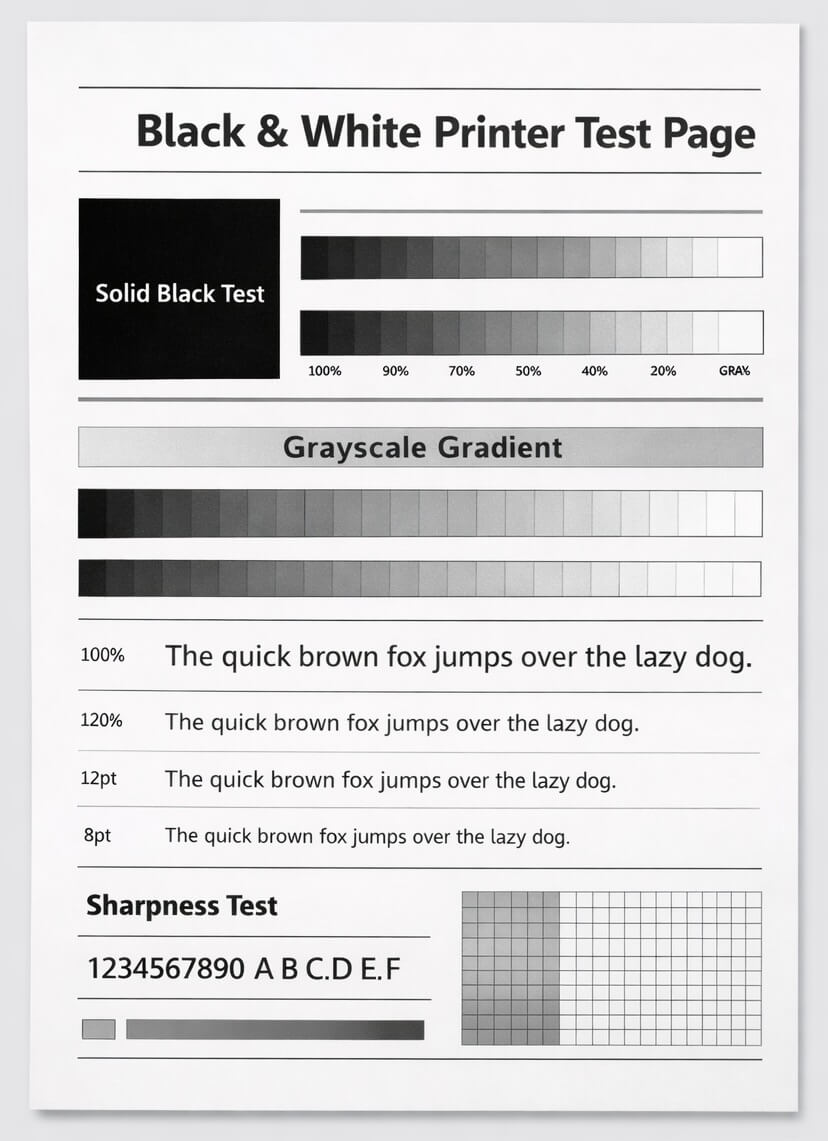
⬛ Grayscale Tests
Used primarily for monochrome laser printers to verify that toner is distributing evenly across the drum without fading.
When to Print a Test Page
Our printer tech experts recommend running a test page in four specific scenarios:
- Initial Setup: Print a baseline page the day you buy the printer to establish what "perfect formatting" looks like.
- After Cartridge Replacement: To ensure the printer accurately recognizes the new ink tanks and isn't introducing air bubbles into the lines.
- After Extended Inactivity: Inkjet nozzles dry out in less than 3 weeks. Print a test page every 14 days to push fresh liquid ink through the pipes and prevent permanent printhead damage.
- When Troubleshooting: The moment you see blurry text, missing colors, or a blank page, run a diagnostic immediately.
How to Read Test Page Results
Reading a test page effectively requires knowing what "normal" looks like. Here is a quick reference on what to spot.
✅ Normal Results
- Solid, uniform color bars without streaks.
- Smooth, band-free gradients.
- Sharp text down to microscopic 6pt sizes.
- Straight, evenly-spaced grids and crosshairs.
⚠️ Problem Signs
- White horizontal lines (blocked nozzles).
- Visible banding or "stepping" in gradients.
- Wavy lines (carriage alignment issue).
- Feathered or "fuzzy" text edges (paper bleeding).
Tested With These Popular Printer Brands and Models
Testing across multiple brands and models ensures compatibility with different ink systems, drivers, and print engines. Results may vary based on printer condition, ink quality, and paper type.